
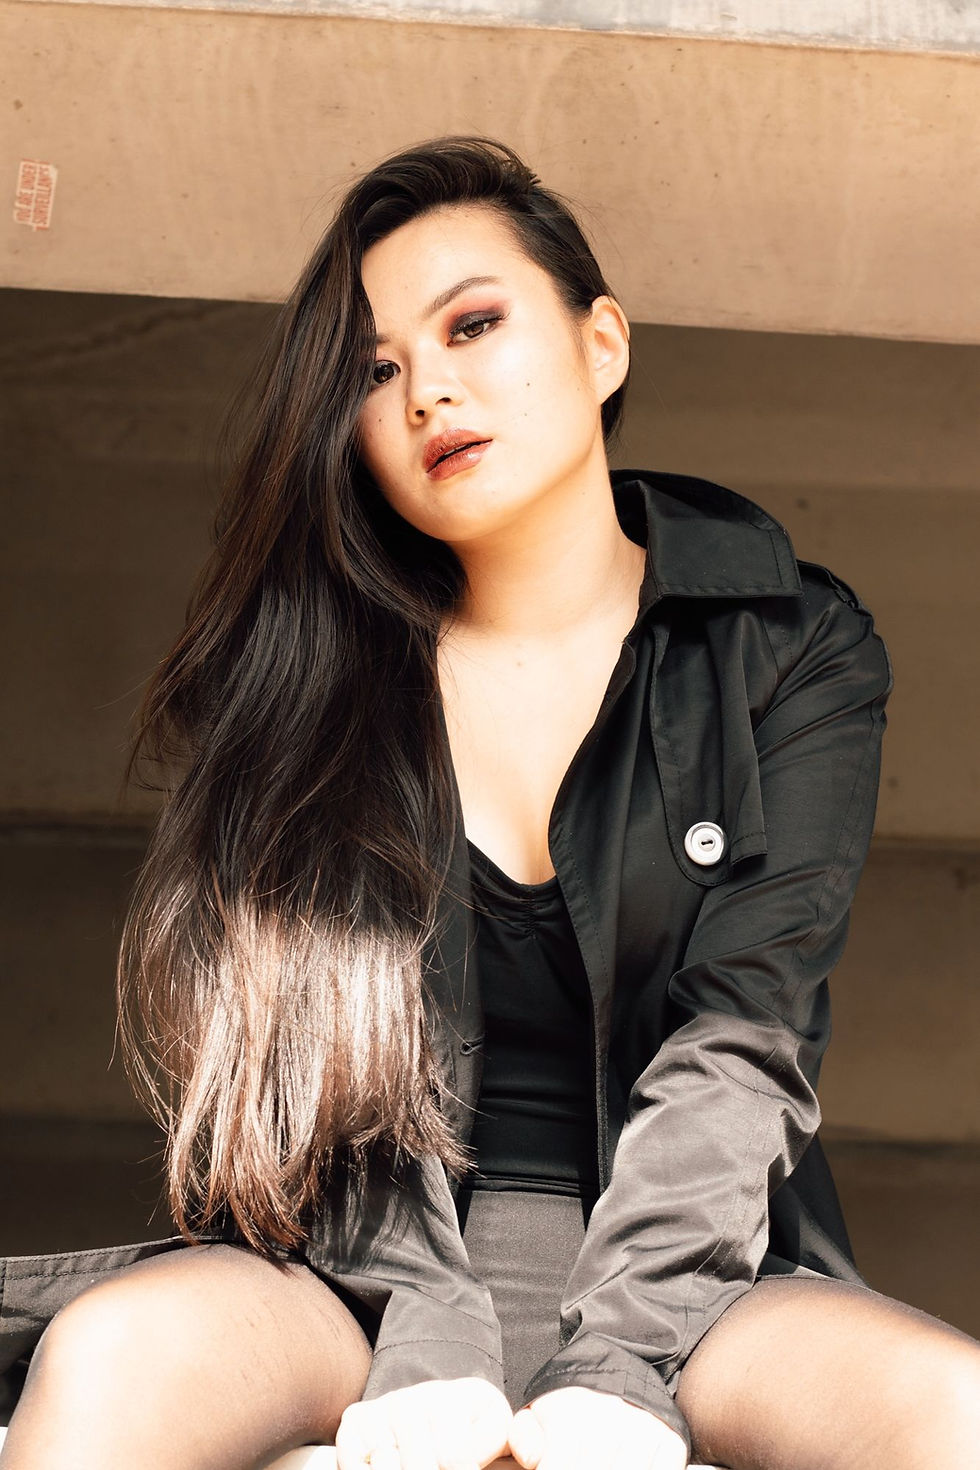
In-Depth Tutorial: Makeup For Photoshoots
- Gabrielle Strickland
- Sep 27, 2022
- 4 min read


The camera lens is more powerful than the human eye. It can pick up on pores, facial hair, dead skin, and more that we may not see in-person. The camera can be sort of unforgiving in that nature. That's why I'm here to help you!
Similar to the idea of stage makeup (but let's not get too crazy with that idea!) more makeup helps accentuates your features and makes your skin photograph nicer on camera.
Having a great foundation routine can really set your photos apart. Since the camera sees more detail than the eye can, it can emphasize any breakouts you might be having. Using a full coverage foundation for photography will help to blur any blemishes or hyperpigmentation that isn't really noticeable in-person, but can be seen from the camera.
Makeup can be tricky to get right for the camera, but with the following routine, you should be glowing in no time! If makeup is intimidating for you and this routine seems overbearing, I encourage you to go one step farther than your normal routine and for a minimum, use full coverage foundation.
Step by Step Make Up Application for Photoshoots:
First, if you have facial hair, I recommend dermaplaning to create a smooth base. Facial hair i.e. peach fuzz can cause the foundation to appear thicker and can show up in photos, especially around the lips and jaw during golden hour or certain harsh lighting conditions. On a fresh, clean, and bare face, apply moisturizer. Let it sit for a minute or two.
Next, apply face primer all over your face. It should match your foundation base in whether it is oil or water-based. I recommend the Pore Professional from Benefit, Lancôme's La Base Pro Makeup and Face Primer (my personal favorite I use), or Too Faced's HangoverRx. Once the primer is applied, let it sit for a minute or two. I've noticed if you apply foundation too quickly after primer or if they don't have the same base (water or oil), sometimes the foundation won't rub in well and will almost "glide" off or "peel" off your face.
Apply liquid undereye concealer, blending it out and patting/rolling in with a wet beauty blender. Ideally, it should be a shade lighter than your foundation shade. Liquid concealer is recommended here because it is a light consistency and buildable. If you use too heavy or thick a concealer it can weigh down your undereyes and emphasize eye bags.
Apply your full-coverage foundation. I like to use my fingers because I believe the warmth in my fingers help blend it in better. Others use beauty blenders or brushes. Use whatever you are comfortable with. Blend well into your neck and hairline.
Cover any problem spots with creamy concealer. A creamy concealer like one that comes in a small pot is recommended because it'll stay in place well over the pimple, etc, without making it cakey. I highly recommend Bo-Ing cream concealer from Benefit. I've used it for years! I personally use a small concealer brush to lightly dab it over imperfections. It's more exact than my fingertip.
Next, use a loose powder to overzealously pat it in on your T-zone and undereyes. Let is sit for a moment before brushing it off. I like this method of "baking" rather than applying powder all over the face. It focuses on powdering the oily areas of the face and leaving the dryer skin alone so your foundation won't look too cakey.
(Optional) Contour as usual. Be careful that you use the right contour for your skin type. Contour is typically more cool toned, meant to create shadows on your face. Be careful that it is not too gray. I use a contour stick from Anastasia, but there are many popular contour sticks and powders out there.
(Optional) If you rather not contour to create a sharper face, stronger cheekbones, or elongate or widen the face, do not feel the need to. If you only want to warm your face, you can use bronzer. Bronzer is applied in roughly the same areas or right above contour but meant to give you more of a sun-kissed look. Some bronzers can end up looking streaky, a little gray, or muddy, so take care in choosing a good warm color.
Apply blush a little more heavy-handed than normal as it will fade on the camera and throughout the shoot. Use your discretion. There are different ways to apply blush to create different effects on your face, but apply it however you would like to.
Prime your eyelids with primer made for eyes. It will help eye makeup from creasing and the colors to show up more vibrantly. Do your eye makeup. Curl your lashes and apply false lashes. I personally do not use full lash strips as it's harder to apply and too thick for my eyes. I prefer the look of single lashes and filling in on the outer lashline where needed. So if full lashes is intimidating for you, that is something to consider.
Fill in your eyebrows so they don't disappear from the camera or harsh light. Fill it in to the natural shape of your eyebrows. You can use eyeshadow that is the same color of eyebrows.
Add highlighter to your cheekbones, the brow bone, and the bridge and tip of the nose.
Put lip gloss or lipstick on. If you decide to put on lipstick, I recommend also using lipliner.
Finally, use setting spray all over your face. My all-time favorite is All-Nighter by Urban Decay. Do not pat dry, let it air dry.
All-in-all, this may seem very intimidating. Just take it one step at a time! There's a few key takeaways you should take from this. (1) Having a good, clean skin base with full coverage foundation is great. (2) Make sure to add color to your face with blush and lip gloss or lipstick. (3) False lashes really make a huge difference! (4) Primer and setting spray will really make sure that your makeup will not budge during your photoshoot.
You can always practice before your shoot to see which makeup look you would like to do. I always recommend on the day of your photoshoot to bring touch ups. This might be your lip gloss or lipstick, some powder or oil blotting sheets.
I wish you the best of luck on your shoot! Have fun and smile for the camera.

Comments